
Change your own keyswitches
The next level in customization
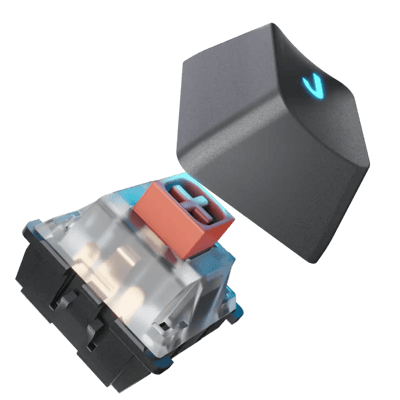
You can now change the keyswitches on the EZ yourself - no soldering required.
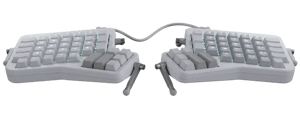
Unlimited switches. One board.
We understand the struggle. As keyboard lovers ourselves, we know how hard it is to decide on which type of keyswitch to pick for your board. After all, once you choose them, that board will live with those switches soldered for the rest of its life.
Until now.
Change your own keyswitches.
Gain ultimate control over your hardware: Change any keyswitch on your EZ, at any time, without soldering and without voiding the warranty. Your keyboard, your switches, your way.
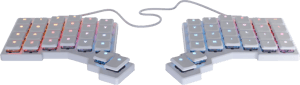
The EZ CIY system, explained
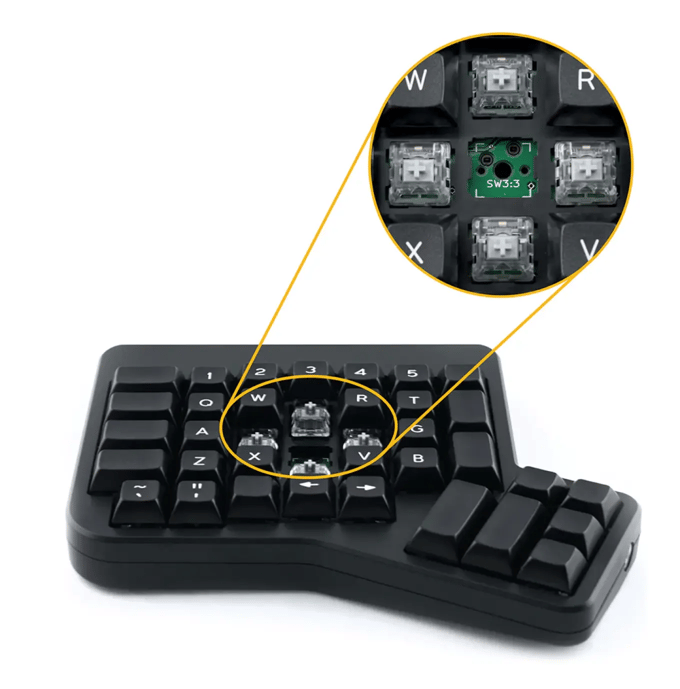
From January 2018 onward, all of our keyboards come with the CIY feature built-in without extra cost. See it in photos:
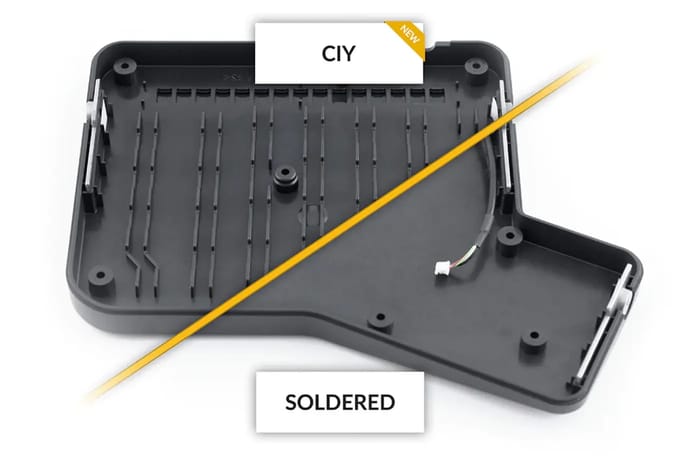
To make this happen, we modified our production tooling to support the changes required for the CIY feature. Below you can see the bottom case of the keyboard: CIY vs Soldered.
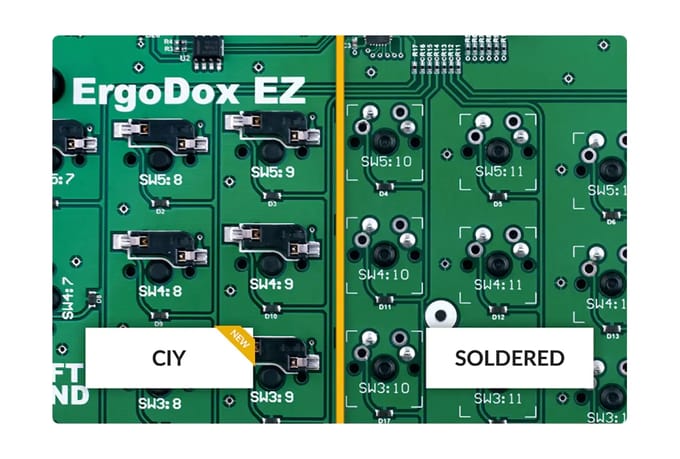
For those who love the details, below the PCB underside side by side.
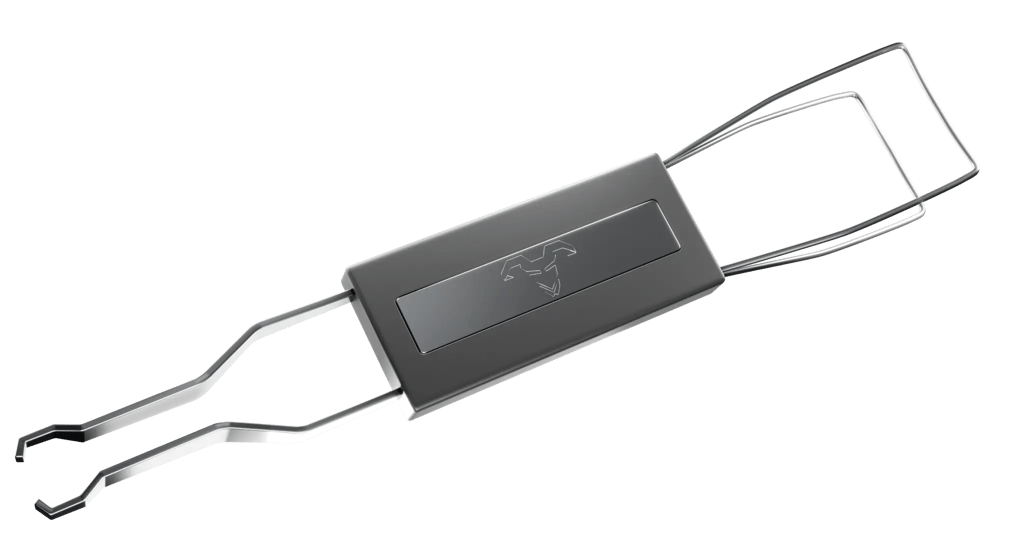
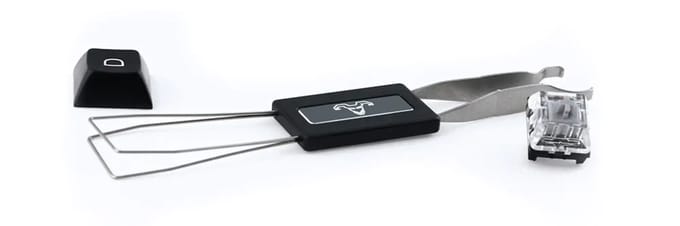
And of course, we wouldn't be able to offer you a complete CIY experience without working on our tools. Keycap puller on one side, keyswitch puller on the other.
How to change your own keyswitches
Note: CIY was introduced for keyboards sold from January 2018 onwards. Not sure if your board is supported? Contact us before trying to pull out those keyswitches. :)
Use the right tool for the job
The EZ comes with a double-sided key puller, designed to make it easy and safe to pull out both keycaps and the keyswitches that lie under them. Before you begin, make sure you have this key puller to hand.
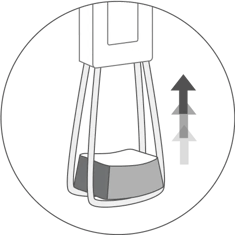
Pull out the keycaps
First, you’re going to have to pull out your keycaps. Use the “wire loop” side of the key puller for this.
- Place the puller over the keycap and push down
- The wires will part and “hug” the keycap from below
- Pull directly up, gently but firmly

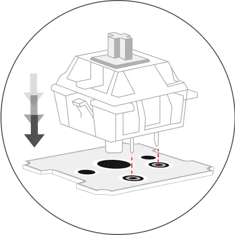
Grasping a keyswitch correctly
Now comes the fun part. Here, orientation matters: Insert the tweezers under the switch where you see the little tabs.
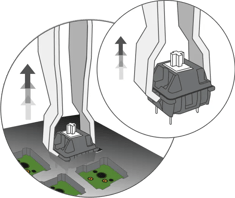
Pulling it out
Squeeze the tweezers around the switch and pull up with a smooth upward motion. The keyswitch will come out - victory!
Inserting a new switch
Once you have your switch out, you’ll see the socket. Before you insert the new switch in, make sure its pins are straight and that it’s correctly oriented. Then, simply push straight down, and the switch will click into place.

You’ve got it!
Repeat for as many keys as you'd like. Then, bask in the satisfaction of a job well done: You just did something very few mechanical keyboard owners can do.
You can also buy standalone accessories or contact us for more assistance.